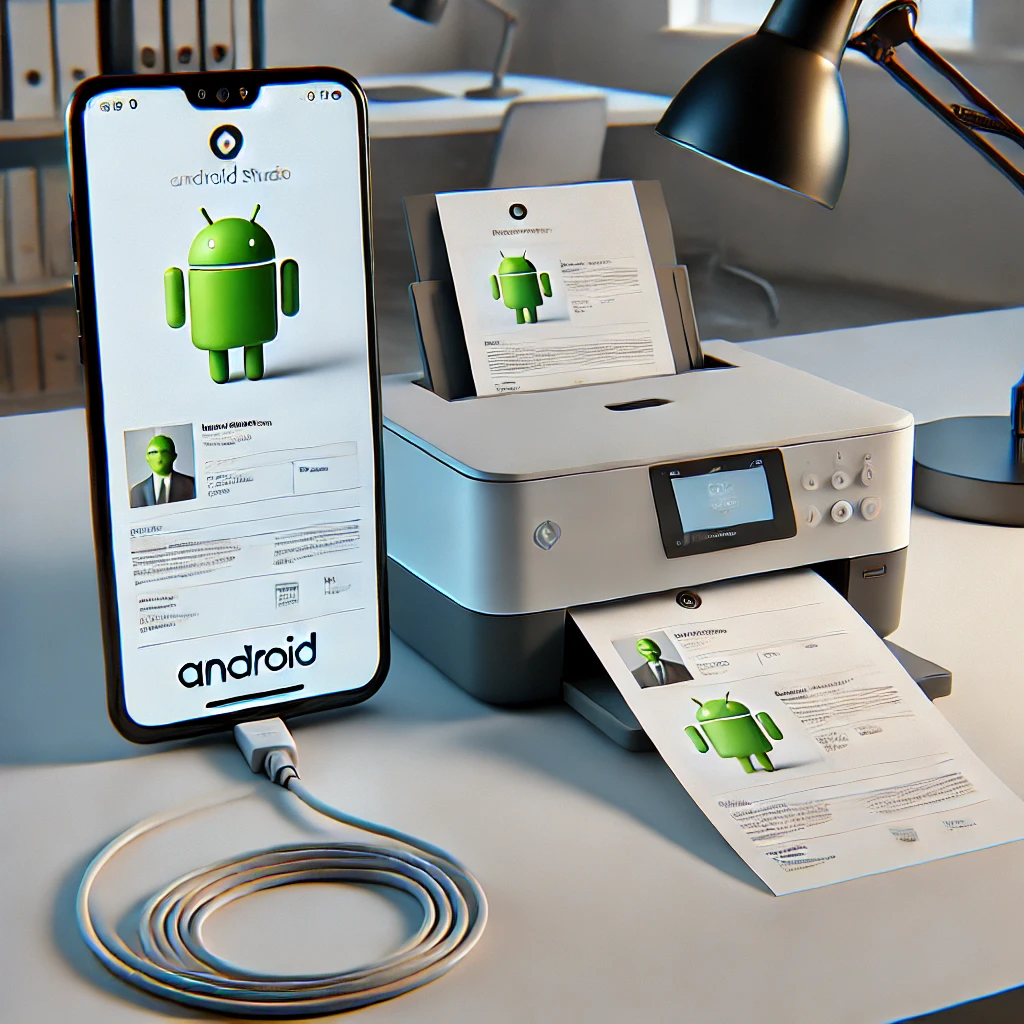
Printing dynamic content from an iframe within an Android WebView can be a bit challenging, especially when the content is stored in localStorage. In this blog post, we'll walk through the steps to achieve this with detailed explanations and code snippets.
Step 1: Setting Up the WebView
First, we need to set up the WebView in our Android activity. We'll enable JavaScript and add a JavaScript interface to communicate between the HTML and the Android code.
import android.app.Activity;
import android.content.Context;
import android.os.Bundle;
import android.print.PrintAttributes;
import android.print.PrintDocumentAdapter;
import android.print.PrintManager;
import android.webkit.JavascriptInterface;
import android.webkit.ValueCallback;
import android.webkit.WebView;
import android.webkit.WebViewClient;

public class PrintWebViewActivity extends Activity {
    private WebView webView;

    @Override
    protected void onCreate(Bundle savedInstanceState) {
        super.onCreate(savedInstanceState);
        setContentView(R.layout.activity_print_webview);

        webView = findViewById(R.id.webView);
        webView.getSettings().setJavaScriptEnabled(true);
        webView.addJavascriptInterface(new WebAppInterface(this), "Android");
        webView.setWebViewClient(new WebViewClient() {
            @Override
            public void onPageFinished(WebView view, String url) {
                // No need to inject JavaScript at this point
            }
        });

        webView.loadUrl("file:///android_asset/index.html");
    }

    public class WebAppInterface {
        Context mContext;

        WebAppInterface(Context c) {
            mContext = c;
        }

        @JavascriptInterface
        public void printIframeContent(String iframeContent) {
            runOnUiThread(new Runnable() {
                @Override
                public void run() {
                    printHtmlContent(iframeContent);
                }
            });
        }
    }

    private void printHtmlContent(String htmlContent) {
        String header = "<div style='text-align: center; font-size: 14px; margin-bottom: 20px;'>" +
                        "<strong>Print Created via <em>Your App Name</em></strong><br>" +
                        "<a href='http://yourappwebsite.com'>yourappwebsite.com</a>" +
                        "<hr></div>";
        String footer = "<hr><div style='text-align: center; font-size: 12px; margin-top: 20px;'>" +
                        "Printed via <em>Your App Name</em></div>";

        String fullHtmlContent = "<html><body>" + header + htmlContent + footer + "</body></html>";

        WebView printWebView = new WebView(this);
        printWebView.getSettings().setJavaScriptEnabled(true);
        printWebView.loadDataWithBaseURL(null, fullHtmlContent, "text/html", "UTF-8", null);

        PrintManager printManager = (PrintManager) getSystemService(Context.PRINT_SERVICE);
        PrintDocumentAdapter printAdapter = printWebView.createPrintDocumentAdapter("Document");

        String jobName = getString(R.string.app_name) + " Document";
        printManager.print(jobName, printAdapter, new PrintAttributes.Builder().build());
    }
}
Step 2: Creating the HTML Page
Next, let's create the HTML page (index.html) that will be loaded in the WebView. We'll include a button to trigger the print function and a script to read the iframe content from localStorage.
<!DOCTYPE html>
<html lang="en">
<head>
    <meta charset="UTF-8">
    <meta name="viewport" content="width=device-width, initial-scale=1.0">
    <title>Print Page</title>
</head>
<body>
    <iframe id="printIframe" src="about:blank"></iframe>
    <button onclick="printIframeContent()">Print Document</button>

    <script>
        function printIframeContent() {
            var iframeContent = localStorage.getItem('iframeContent');
            Android.printIframeContent(iframeContent);
        }

        // Load content into iframe for demonstration purposes
        document.getElementById('printIframe').srcdoc = localStorage.getItem('iframeContent');
    </script>
</body>
</html>
Step 3: Triggering the Print Function
When the button is clicked, the printIframeContent function retrieves the content from localStorage and sends it to the Android Java code via the JavaScript interface.
<script>
    function printIframeContent() {
        var iframeContent = localStorage.getItem('iframeContent');
        Android.printIframeContent(iframeContent);
    }
</script>
Step 4: Printing the Content with Header and Footer
In the printHtmlContent method of our Android Java code, we format the HTML content with a header and footer before loading it into a new WebView for printing.
private void printHtmlContent(String htmlContent) {
    String header = "<div style='text-align: center; font-size: 14px; margin-bottom: 20px;'>" +
                    "<strong>Print Created via <em>Your App Name</em></strong><br>" +
                    "<a href='http://yourappwebsite.com'>yourappwebsite.com</a>" +
                    "<hr></div>";
    String footer = "<hr><div style='text-align: center; font-size: 12px; margin-top: 20px;'>" +
                    "Printed via <em>Your App Name</em></div>";

    String fullHtmlContent = "<html><body>" + header + htmlContent + footer + "</body></html>";

    WebView printWebView = new WebView(this);
    printWebView.getSettings().setJavaScriptEnabled(true);
    printWebView.loadDataWithBaseURL(null, fullHtmlContent, "text/html", "UTF-8", null);

    PrintManager printManager = (PrintManager) getSystemService(Context.PRINT_SERVICE);
    PrintDocumentAdapter printAdapter = printWebView.createPrintDocumentAdapter("Document");

    String jobName = getString(R.string.app_name) + " Document";
    printManager.print(jobName, printAdapter, new PrintAttributes.Builder().build());
}
Conclusion
With these steps, we've successfully implemented a solution to print dynamic content from an iframe stored in localStorage within an Android WebView, complete with a header and footer for branding. This method ensures that the entire iframe content is printed correctly, regardless of how many pages it spans.
Feel free to customize the header and footer to match your app's branding and add any additional styling as needed.
I hope this blog post helps you understand the process of printing dynamic content from an iframe in an Android WebView. Happy coding! 😊📄✨


Leave a Reply